"Those who dream by night, in the dusty recesses of their minds, wake in the day to find it was vanity, but the dreamers of the day are dangerous, for they wake to make their dreams a reality. "
I am a dreamer, I suppose that is why I am so enamored with travelling. Even waiting in the airport excites me, building my anticipation for the destination, allowing me to dream of what awaits me. It has long been my dream to own my own business and do something I truly love and I am excited to announce that I am finally making that dream into a reality!
As you probably all well know by now, I have many passions. Travelling and photography top the bill, but writing and creating fall just below them.
"There has to be a way," I thought to myself, "to use these passions in a way that I can support myself and continue to share them with the world."
One day, while photographing the stained glass windows in Chichester Cathedral, I came to the conclusion that there had to be a way for me to put my photographs onto glass to sell for people to enjoy at home. Once this little bee had landed in my bonnet it was only a matter of time until I stumbled upon
Sassy Glass Studio. Lisa Gifford Mueller, fused glass genius and owner of Sassy Glass Studio, offers classes to teach curious minds like mine how to create their own fused glass masterpieces from her studio in Knoxville, Tennessee. Not just a brilliant fused glass artist, Lisa is a professional fusographer, meaning she is successfully fusing images onto glass in a manner that is built to last. It was official I was going to have to find away to travel to Knoxville and take this class!

Lisa has a fun bubbly personality, that displays her kind heart right out on her sleeves and I knew when I met her that not only was I going to learn a lot but I was going to enjoy every second learning with this lovely lady.
Fusing glass on its own is a complex process. You can't just use any old glass, you have to use one type of specific glass for your creation to fuse together properly. The first real challenge is cutting the glass, scoring it with confidence before snapping it in two parts. Once you have cut the pieces you want, you then get to begin layering the glass until you have it set up in the way you want it to fuse together. This is the fun part, where you get to be creative and make your vision come to life before your eyes.


.JPG)
I designed two coasters & one large sushi plate purely using glass and the rest of my pieces I dedicated to mastering fusography. Having placed my fused glass pieces atop kiln paper in the kiln along with the glass we had cut for the fusography, we shut the kiln and phase one began: fusing the glass together.
The next day I arrived with the building anticipation of opening the cooled kiln to see how everything had fused together. It is fascinating to see how the glass works together to form one solid piece, morphing into a beautiful creation. Two coasters complete, and one plate ready to slump, it was time clean them and begin prepping the fusography pieces.
.JPG) |
| Fused platter placed on the mold in the kiln ready to slump. |

I had ordered some fusography decals from
InPlainSight Art and was excited to pull them out and begin the process of adhering them to the coasters we had prepared. The decals are printed on a peach colored paper that disappears during the firing process leaving only your image left behind fused to the glass. Having cut out my pieces, I placed them on their respective coaster and waited for the water heating in the skillet to reach 170
°.
Once the water had reached the perfect temperature, it was time to begin preparing the decals to adhere to the coasters. Once you have immersed your decal in water it does not take long before you need to remove it, so I found myself keeping my chopsticks close to the decal, so I wouldn't have to waste time chasing it around the skillet, and hence potentially ruin the decal.
Once the decal begins to separate from the backing, it is time to carefully slip it off the paper and onto the glass in one cohesive movement, minimizing the risk of bubbles forming between the decal and the glass. Once the decal is positioned, you simply use a plastic card to press firmly on the decal to remove any bubbles and ensure that it has fully adhered to the glass.
The more I did, the better I became, and after preparing several pieces, I found my rhythm and was able to prep the pieces without too much difficulty.
Having prepped all of my pieces successfully, it was finally time to take them all to the kiln where we would begin the custom firing schedule for successful fusography.
Once again returning to a cooling kiln with bated breath, it was with nervous anticipation that we opened the kiln to find the finished pieces of glass art. Funky peach paper melted away, the coasters were left smiling up at me with my very own images forever fused to them in all their glory. I had such a fabulous time in Knoxville, learning all of the ins and outs of fused glass and it is something that I hope will continue to bring me joy for the unforeseeable future.
With no doubt left in my mind, this is what I want to do in correspondence with my blog, what I want to create to share with all of you. So stand by! Inspiration From Abroad will soon be opening for business, selling handcrafted home goods & gifts featuring custom crafts & fused glass designed using inspiration from around the globe!

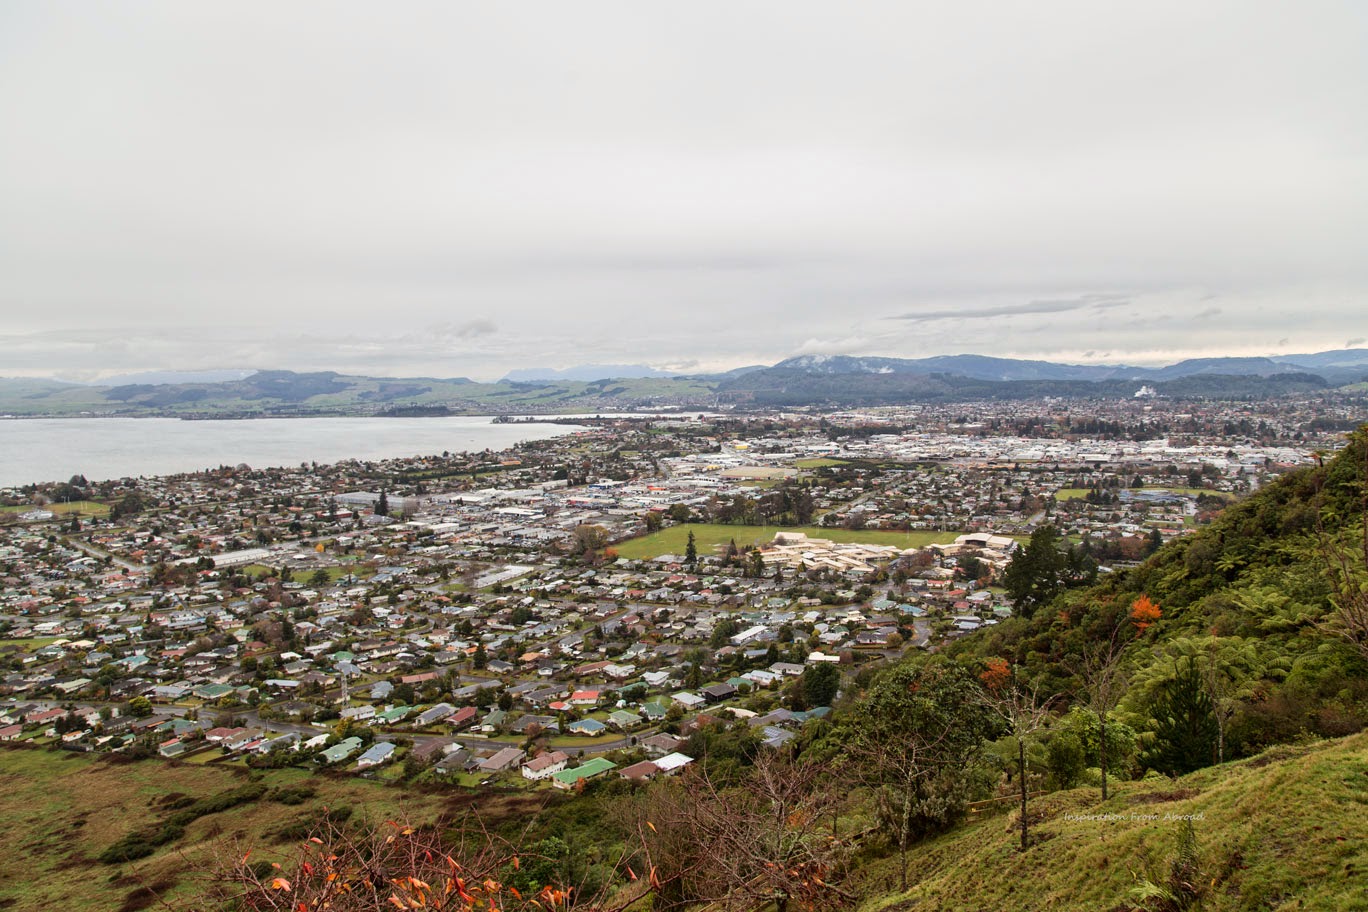
 Skyline is a company with a complex stretching up the side of Mount Ngongotaha. Ride a gondola to the top of the mountain and take your pick from a wide aray of heart pounding activities. Fly off the side of the mountain in the sky swing, rocket down the luge on a go kart, rent a mountain bike, or go zip-lining. If you would rather do something a little more low key, you can enjoy the view with a meal in the fabulous restaurant or venture along one of the many walking trails.


.JPG)
.JPG)


.JPG)
.JPG)
.JPG)


